Io, Europa, Ganymede and Callisto are all at or close to the limit of naked-eye visibility. You won’t actually see them with the unaided eye due to the overpowering glare of Jupiter itself, but binoculars or a small telescope will easily bring them into view.
If you are using binoculars to view the moons of Jupiter, you will need to keep them steady. You can do this with a tripod mount if you have one or simply by leaning against a wall, tree trunk or similar.
A telescope with a low power eyepiece will help you to see them even more easily. You will notice that they are strung out in a line on either side of the planet. This is because we are seeing them roughly edge on in their orbits. As they circle Jupiter, they will appear to move from side to side.

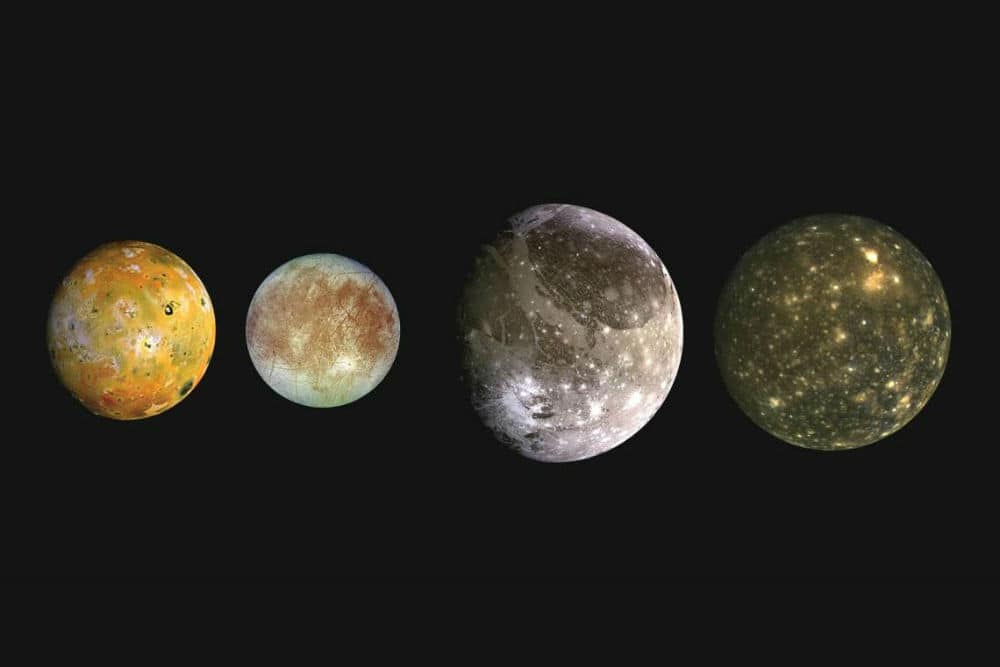
The moons of Jupiter were first noticed by Galileo, using an early telescope, and their orbiting of Jupiter helped confirm that not everything in the sky revolved around the Earth, as had been suggested. They are known as the Galilean satellites.
In order of distance from Jupiter, the moons are Io, Europa, Ganymede and Callisto. You can read more about each in our main article on Jupiter. Io and Ganymede appear brightest, followed by Europa and then Callisto, but all are easy to see.

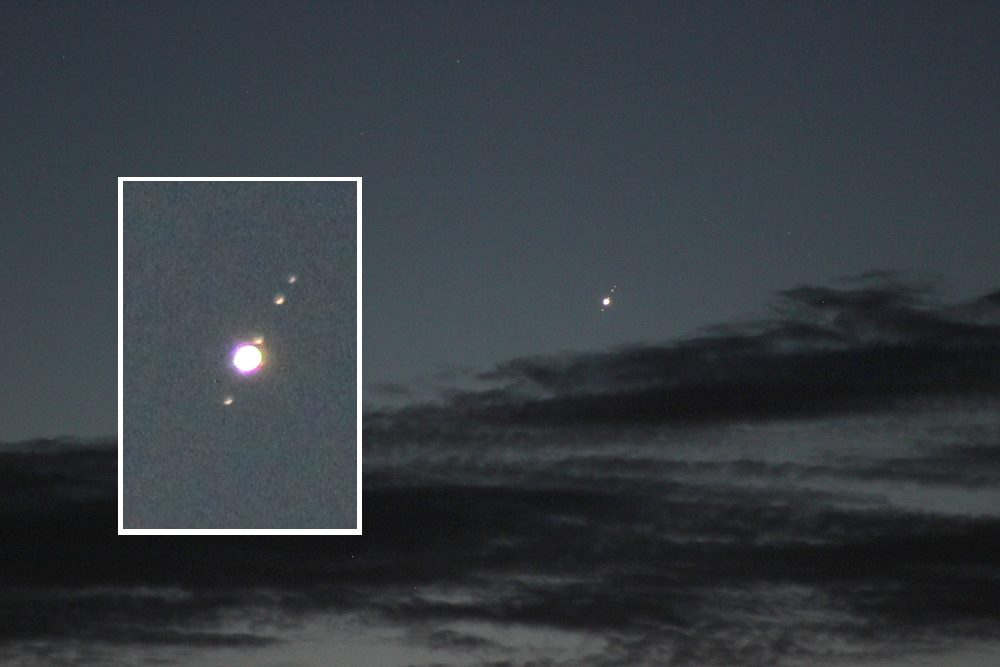
It may surprise you to see how quickly these moons travel in their orbits. Look from one night to the next and their positions will have changed completely, as shown in the two images on this page, taken 24 hours apart.
The pattern they make constantly varies. You may see two moons each side of Jupiter, or one on one side and three on the other. Or you may see fewer than four moons if one or more are in front of or behind the planet.
A smartphone or computer app such as Stellarium will help tell you which moon is which. You will find that they may well be displayed in a different order from that of distance. So Ganymede may appear closer to Jupiter than Io if it is on the far side of its orbit, for example.
Incidentally, Jupiter’s remaining moons are much smaller bodies and so not easy for the amateur astronomer to spot.
Mutual events – eclipses and occultations
Jupiter’s big four satellites orbit in virtually the same orbital plane (imagine the orbit as a disk that cuts through the planet).
For most of the time, that plane, or disk, is tilted up or down as viewed from the Earth. But every six years, when Jupiter reaches one of its two equinoxes during its 12-year orbit, the plane of the Galilean satellites’ orbits appears edge-on to us.
For a few months around each equinox, mutual events can occur between these moons. For example, one Moon can occult, or pass in front of, another. Or one may disappear into the shadow of another.
The last time Jupiter was at an equinox was on 2 May 2021. In October 2021, we are just coming towards the end of one series of mutual events around that date. The next will begin in 2027.
Photographing Jupiter’s moons
It is not difficult to photograph the Galilean satellites as long as you have a telescope or zoom lens (which is effectively a small telescope for your camera). The moons are bright enough that you can capture them in a very brief exposure.
The photos we took were acquired using a digital camera body (a FujiFilm X-M1) attached to a 66mm refractor. This method, where the telescope becomes your camera’s lens, is known as prime focus.
If you are using a telescope, you will need an adaptor, called a T-mount, that connects your camera body to the telescope. The telescope will also need to be very steady so mounted on a tripod or telescope mount.
This method is nice and easy as everything becomes properly aligned. You can also use your camera with its standard lens and hold it against the telescope with its eyepiece in. It is more difficult to keep everything lined up properly this way.
We found we got good results by setting the camera sensitivity, or speed, to ISO 400 and taking exposures of around an eighth or a tenth of a second. But experiment with other settings to see what you get.
Jupiter itself will be very overexposed at such speeds, so will appear as just a white splodge. Longer exposures will start to show the moons as little streaks due to the rotation of the Earth.
If you have a telephoto lens for your camera, you can also use that to capture the lens. We used an inexpensive telephoto zoom at 300mm on a Canon EOS 600D and captured the moons. Enlarging the image revealed the limitations of the lens, but at least we caught them!
Many pocket cameras nowadays are able to zoom in considerably, and it would be interesting to see what results one can achieve using one of these.
Here is what else you can see in the night sky this month.


